Dashcams have become very popular among drives in the last few years, to the point where some vehicle manufacturers include them as a standard feature. If you own a Tesla, you have probably noticed the “Sentry Mode” available in your model.
And while it can be an extremely convenient feature in case you get into an accident or otherwise need to prove something to the police or a court, it can also cause some unexpected problems if you’re not prepared. Mainly, there’s a risk of losing your footage if you’re not careful.
Why Do Your Dashcam Videos Get Lost on a Tesla?
Tesla’s dashcam is designed to only store a specific duration of footage – usually, the last hour. If you don’t interact with the camera controls manually, you might not get a recording of every important event that happens to you. For example, if you get into an accident, your Tesla will usually happily overwrite any footage captured during the event and replace it. Tesla offers the option to manually save a specific segment if you feel it’s important.
You may also suffer from a data loss incident. Tesla’s dashcam saves its videos to a USB flash drive if you have one plugged in. Dashcam data recovery boils down to simply recovering the drive itself in this case.
If you have a damaged dashcam, video file recovery can be trickier and may require a specialized service. That’s because you may not be able to physically connect to the device with regular tools and software. This is an expensive approach that also takes a lot of time.
It’s not ideal for cases where you urgently need to get your hands on your footage, for example after a crash that leads to a lawsuit. Some services may be able to prioritize your order in those circumstances, but you shouldn’t expect that by default and be prepared for a longer wait.
Can You Recover Lost Videos from a Dashcam?
Tesla video recovery is simple if your videos were stored on a flash drive. Even if they were still in the dashcam’s main memory at the time of the incident, there’s still a chance of getting your hands on the footage. You will just have to use a more advanced approach.
If your problem is that the dashcam has automatically overwritten your footage, there’s probably a high likelihood that your dashcam video recovery will be successful. The most important point here is to be fast and ensure that the camera doesn’t get many chances to write to its memory and overwrite currently existing footage.
How to Recover Lost Dashcam Video Footage on a Tesla?
If you need to recover lost dashcam video footage on your Tesla, there are several approaches you can use. We generally recommend trying the simpler methods first, and only resorting to professional services if nothing else works. Keep in mind that some of these methods may not be available to you, depending on the current state of your USB drive.
Method 1 Use Data Recovery Software
Data recovery software like Disk Drill can make dashcam video recovery very easy. This includes cases where the storage has been physically damaged. While the method is not guaranteed to work every time, it’s still worth giving it a shot. Of all the programs available on the market, Disk Drill is perhaps the best dashcam corrupted file recovery software right now.
- Download and install Disk Drill
- Connect the USB stick containing your footage to your computer
- Start Disk Drill
- Select the USB stick containing your footage and click Search for Data
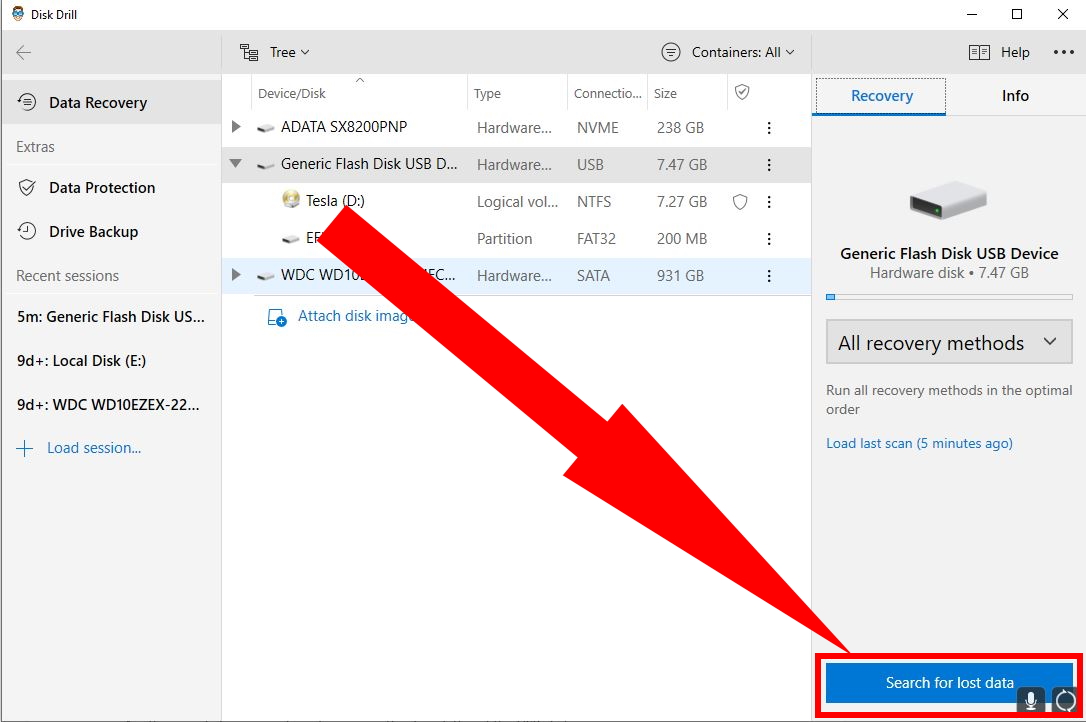
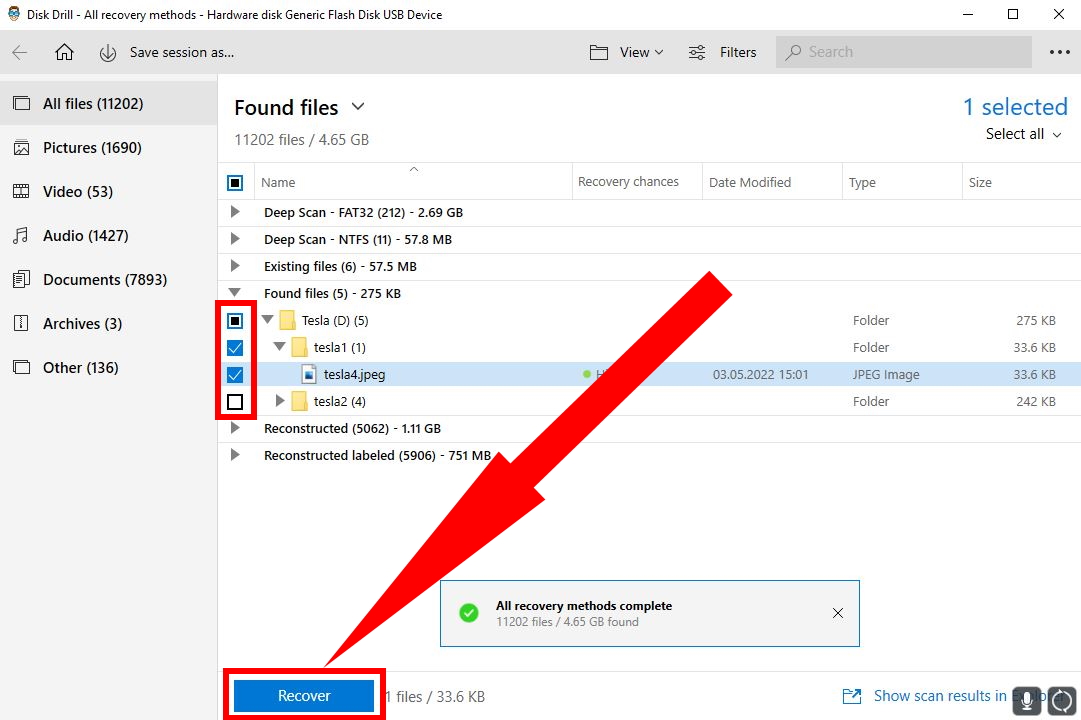
- After a while, you’ll see a preview of all files you can currently recover. If you see your footage in the list, select it.
- Click Recover and the recovery process will start

Method 2 Run CHKDSK
CHKDSK is a Windows utility that can occasionally fix simple issues with USB sticks and other external drives.
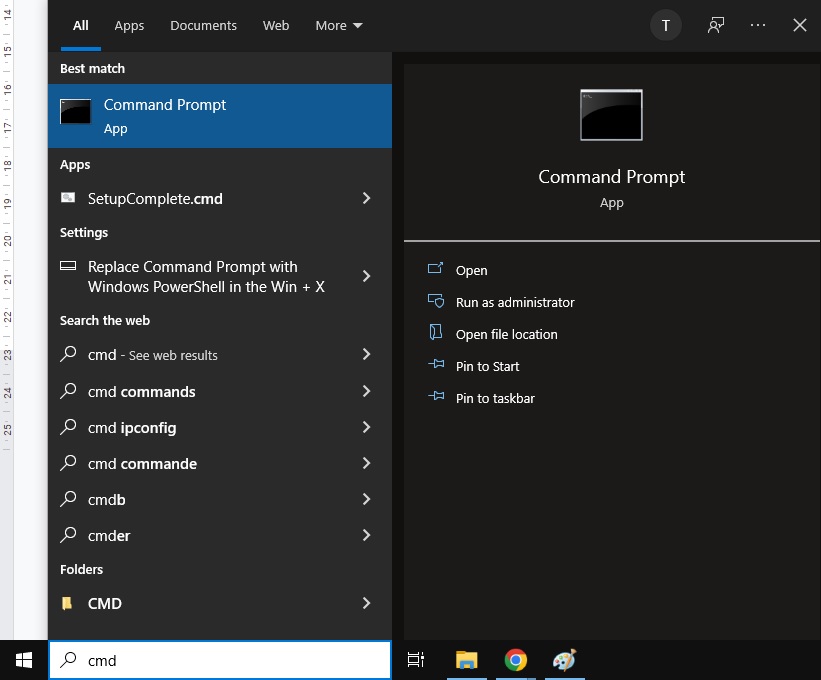
- Connect the USB stick containing your footage to your computer
- Open Command Prompt
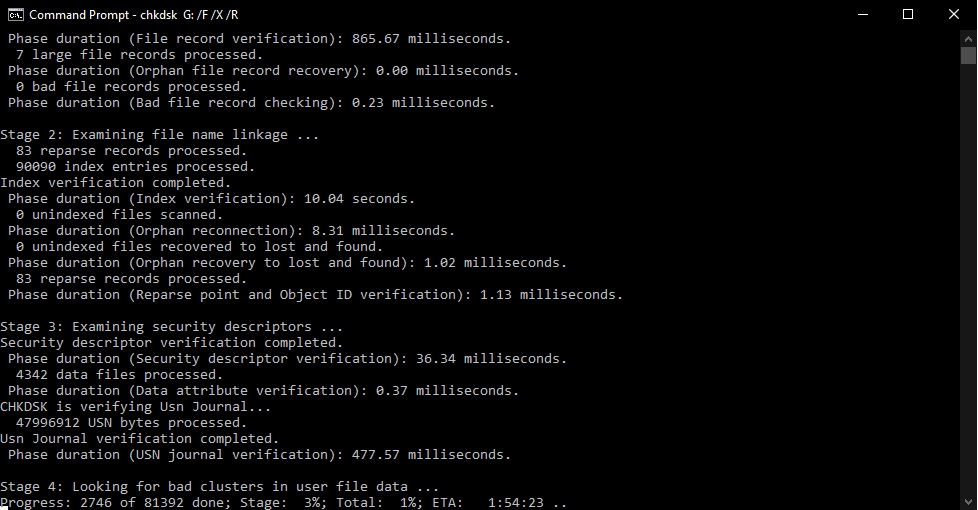
- Type in the following: chkdsk X: /F /X /R. Replace the first X with the actual drive letter of your USB stick

- After a while, you’ll get a report of all errors that have been identified and fixed
Method 3 Reinstall Drivers
Reinstalling the drivers of your USB stick can also fix certain issues from time to time.
- Connect the USB stick containing your footage to your computer
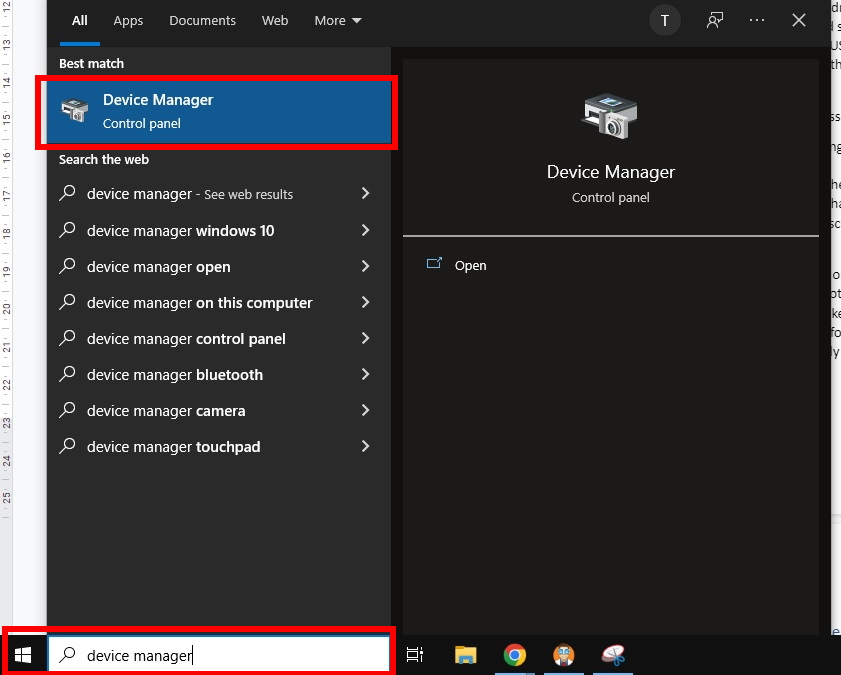
- Open Device Manager
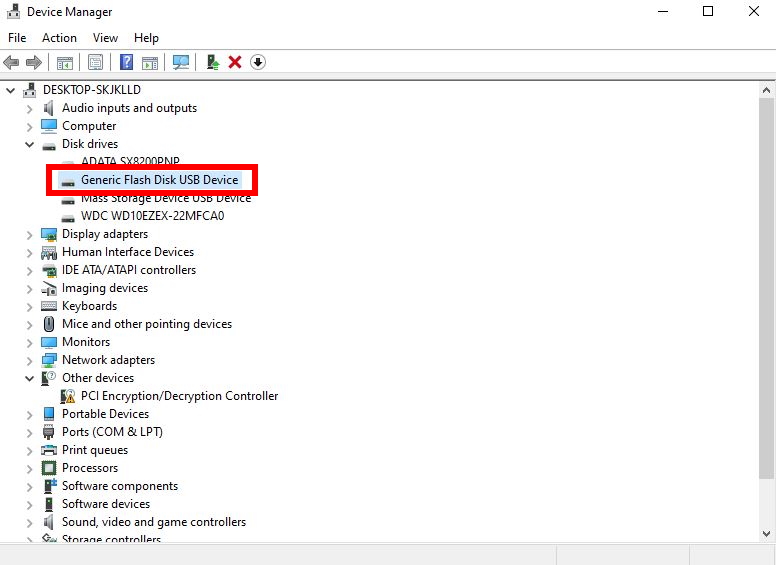
- Find the USB stick in the list of drives
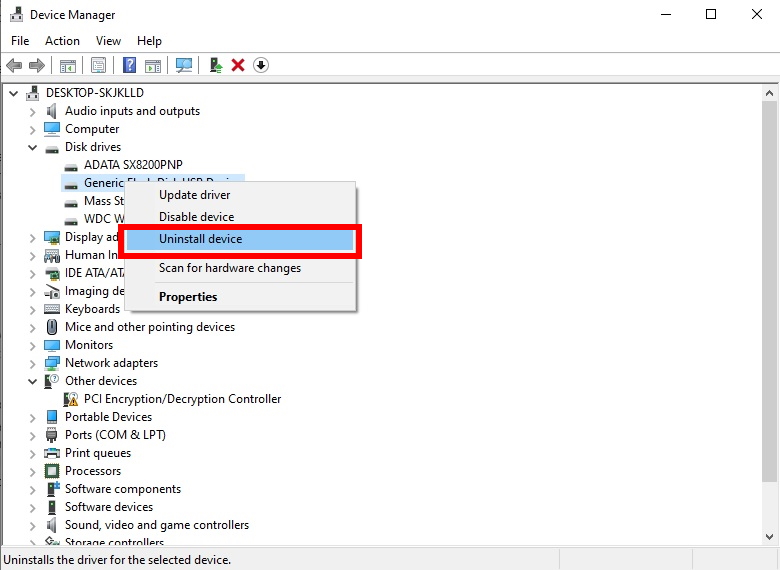
- Right-click on the USB stick and select Uninstall device
- Disconnect and reconnect the USB stick to your computer
- Windows should now reinstall the necessary drivers
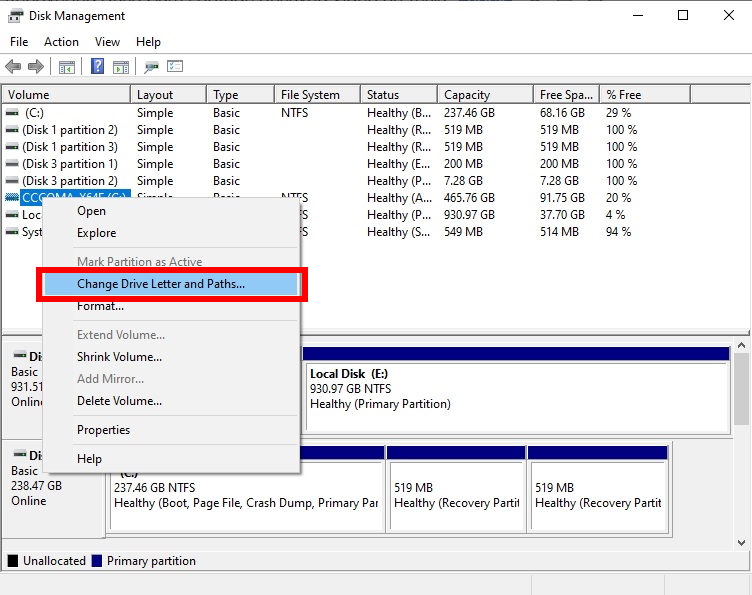
Method 4 Assign a New Drive Letter
Another simple fix you can try is to reassign the drive letter of the USB stick.
- Connect the USB stick containing your footage to a computer
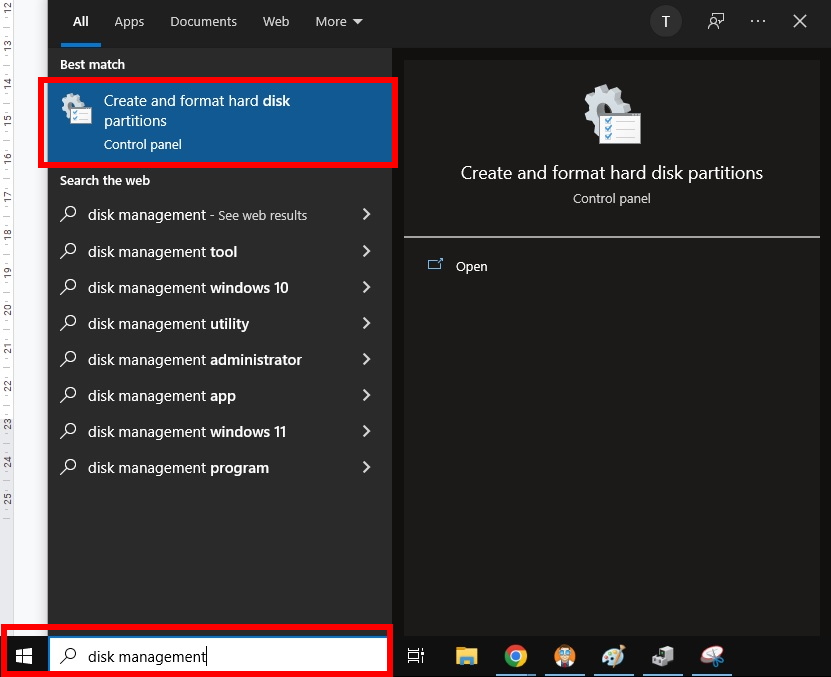
- Open Disk Management
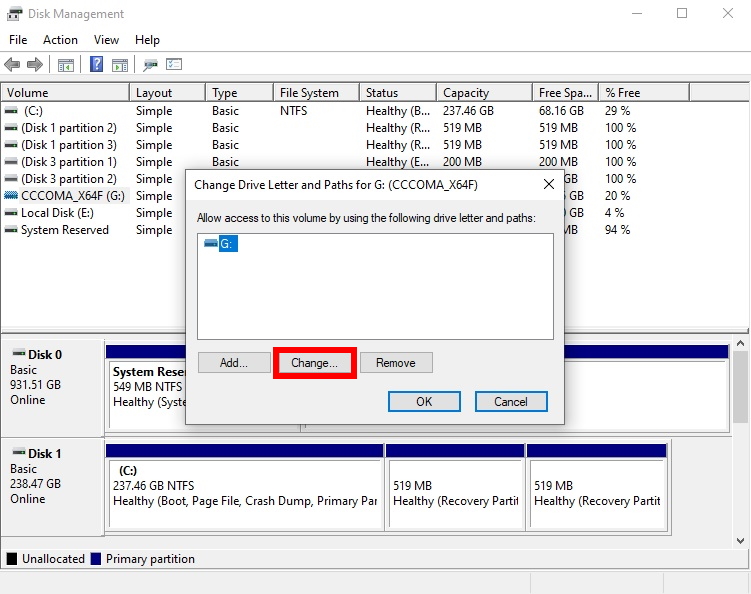
- Right-click on the USB stick in the list of drives and select Change Drive Letter and Paths…
- Click Change… in the window that pops up
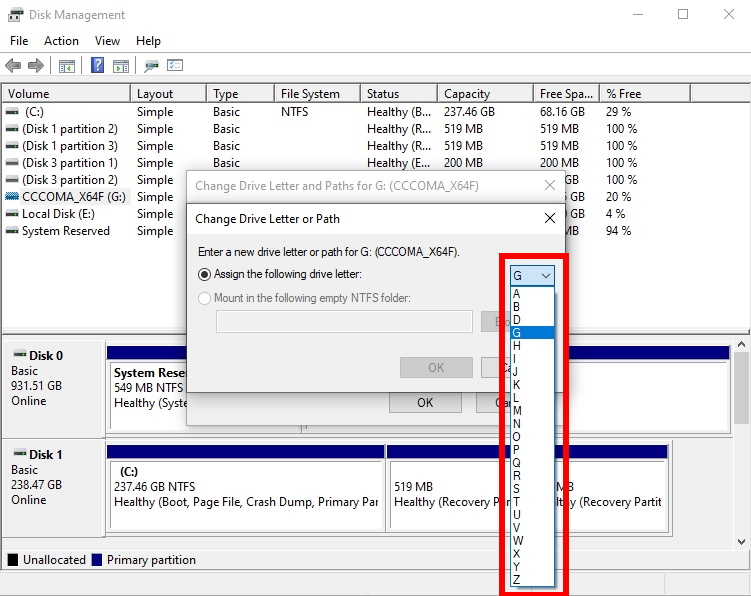
- Select a new letter on the next screen and click OK
Method 5 Use a Data Recovery Service
If the above methods don’t work, your only option might be to use a professional data recovery service. These services aren’t cheap and may not be available in your region, but it’s worth a try to see if they can get your issue fixed. The process can take a while – in some cases, up to a few weeks – so be prepared to wait. If you need the footage urgently, for example if you’re going through a lawsuit, make sure to let the company know so they could potentially prioritize your order.
How to Protect Dashcam Video Recordings after a Car Accident
If you’ve been in a car accident with your Tesla, you should take some steps to minimize the chance of losing any data. First, save a manual recording of recent footage. Once that’s done, take out the USB stick and keep it safe. Replace it with another stick if you have one handy, so that your Tesla can continue recording.
If the drive has been physically damaged, try to keep it in a safe spot to prevent further damage. This will improve your chances of recovering data from it afterwards. USB sticks are not as sensitive as hard drives when it comes to shaking and other sudden moves, but they should still be treated carefully.
Conclusion
Accidentally deleted footage can be recovered with the right tools, provided you act quickly enough. This also applies to situations where data has been lost due to physical damage. It’s a good idea to familiarize yourself with the available tools in advance so that you’re not caught unprepared if you run into a situation that calls for data recovery. Make sure to know what professional services you can turn to in these cases as well.


FAQ
Recovering deleted Tesla footage can be done in several ways. You can use a data recovery tool for deleted Tesla dashcam files, such as Disk Drill. You can also attempt to fix your drive through the standard tools supplied with Windows, though your chances with that are usually lower.
- Select the camera icon in the top-right corner of your touchscreen
- Select Launch Viewer
- Browse through your available footage and find the video you need
Overwritten dashcam footage can still be recovered. The most important thing is to act quickly. The more you wait, the more of the original footage will be overwritten and may be lost for good. The best thing to do in these scenarios is to use a data recovery tool like Disk Drill. It will allow you to view all footage that is currently stored, including files that have already been overwritten by newer footage.
- Download and install Disk Drill
- Connect the USB stick containing your footage to your computer
- Start Disk Drill
- Select the USB stick containing your footage and click Search for Data
- After a while, you’ll see a preview of all files you can currently recover. If you see your footage in the list, select it.
- Click Recover and the recovery process will start
Tesla automatically records dashcam footage and saves it without any interaction. However, you may have to manually press the record button to save specific segments you care about. This is often necessary after an incident in order to prevent your Tesla from overwriting the footage with newer one. Your Tesla will automatically save videos after certain events, but you shouldn’t count on that option and should always save them manually as well.
Tesla’s dashcam will automatically record any events that might raise suspicion. This also includes cases where the vehicle is unattended. In those situations, your Tesla might also activate its alarm automatically and send you a notification. The dashcam has been designed to be as intelligent as possible when it comes to determining what footage should be saved, but it still requires some degree of manual interaction for the best results.